How to Harvest Worm Castings From Your Worm Farm
So, you’ve been watching your red wiggler worms steadily turn food scraps and bedding into a beautifully rich compost and you’re ready to spread this “black gold” all over your garden. But how do you harvest worm castings without actually disturbing the worms themselves?
If you simply pull out handfuls of black gold without any kind of preparation, you’ll quickly realize that you’re also pulling out handfuls of worms. Luckily, there’s a few methods that you can use to harvest worm-free black gold from your worm farm.
In this article, we’ll present three methods that are easy and reliable, but require a small amount of planning ahead. But don’t worry, the benefits of black gold make it worth it! This nutrient-rich compost aids soil structure/aeration and adds vital nutrients and microorganisms into the soil to be made available to plants.
When is it time to harvest black gold from my worm bin?
There is no exact timeline for vermicomposting, so knowing when to harvest worm castings for the first time can be a little daunting. Luckily, there isn’t really a wrong time, as harvesting on the early side just means you’ll be adding partially-decomposed scraps into the garden, and harvesting on the later side results in more mature black gold.
However, harvesting too late can run the risk of an unhealthy worm population–a worm bin with fewer resources and less fresh bedding will have a slower reproduction rate and the worms themselves might be smaller in size to reflect inadequate conditions.
Luckily, worms are resourceful little creatures! Given the right conditions, they’ll bounce back and reproduce quickly.
To determine when it’s time to harvest worm castings, look out for these signs:
Uniform texture
Dark in color (dark brown to black)
All or most of the original bedding is gone
Slow reproduction (fewer worm cocoons)
Smaller worms

Harvesting worm castings: a simple guide
Now that you’ve determined that your bin is full of rich worm castings, it’s time to harvest! But wait, before you can harvest, it’s best to prepare your bin first. Depending on which harvesting method you use, this step is quite important!
Preparing the worm bin for harvest
If you have the time, you can easily prepare your worms for harvest to minimize the amount of work you have to do. All you have to do is add new food to one spot in your bin only. This will encourage the worms to move to that side, limiting the amount of sorting you have to do come harvesting.
How to harvest: three methods
To keep your worms healthy and happy, it’s best to harvest the worm castings regularly, roughly every 3-6 months. There are several methods used by vermicomposters everywhere, but we’ll limit it to our 3 favorites.
If you’re newer to vermicomposting, we recommend trying all 3 methods over time before deciding to stick with any one in particular.
Method 1: Relocation by food
The easiest method for quickly harvesting your black gold is by first encouraging your worms to relocate to one side of the bin. A few weeks before you want to harvest, start adding food in one spot only. Worms want to be where the food is, so this should ensure that the rest of the worm bin is worm-free and ready to be harvested.
On harvest day, make sure to be intentional about pulling out handfuls of black gold–there might still be worms in other parts of the bin! Pick these out by hand and put them in a cup with moist bedding until your bin is ready to be fully replenished.
Once you’ve reached the side with all the worms, it’s best to just leave them alone even if there’s still some vermicompost left. Don’t worry, you’re not technically losing any worm castings this way, as you’ll just be able to harvest those next time!
Method 2: Relocation by light
Worms don’t like to be exposed to light, so they’ll try to burrow under the soil or bedding away from bright light. You can use this to your advantage while harvesting by placing the bin in direct (but cool) sunlight or under a bright lamp.
After about 10 minutes of exposure to light, start harvesting from one side and the top layer, until you reach worms again. Allow at least 10 more minutes for the worms to burrow further, and repeat this process until you’re down to a mass of wriggling worms!
This method takes more time, but you can leave to do other things in between harvest windows.
Method 3: Screen compost
The third harvesting method involves screening the vermicompost in order to separate worms and any remaining large chunks from the finished black gold. Worms are tenacious, but be careful not to squish or kill any by shaking too vigorously.
To reduce the amount of worms that have to be screened from the compost, prepare your bin for harvest by feeding on one side of the bin only for at least one week beforehand.
You can easily buy or make your own compost sifter using ¼” hardware cloth.

How to replenish the worm bin after harvest
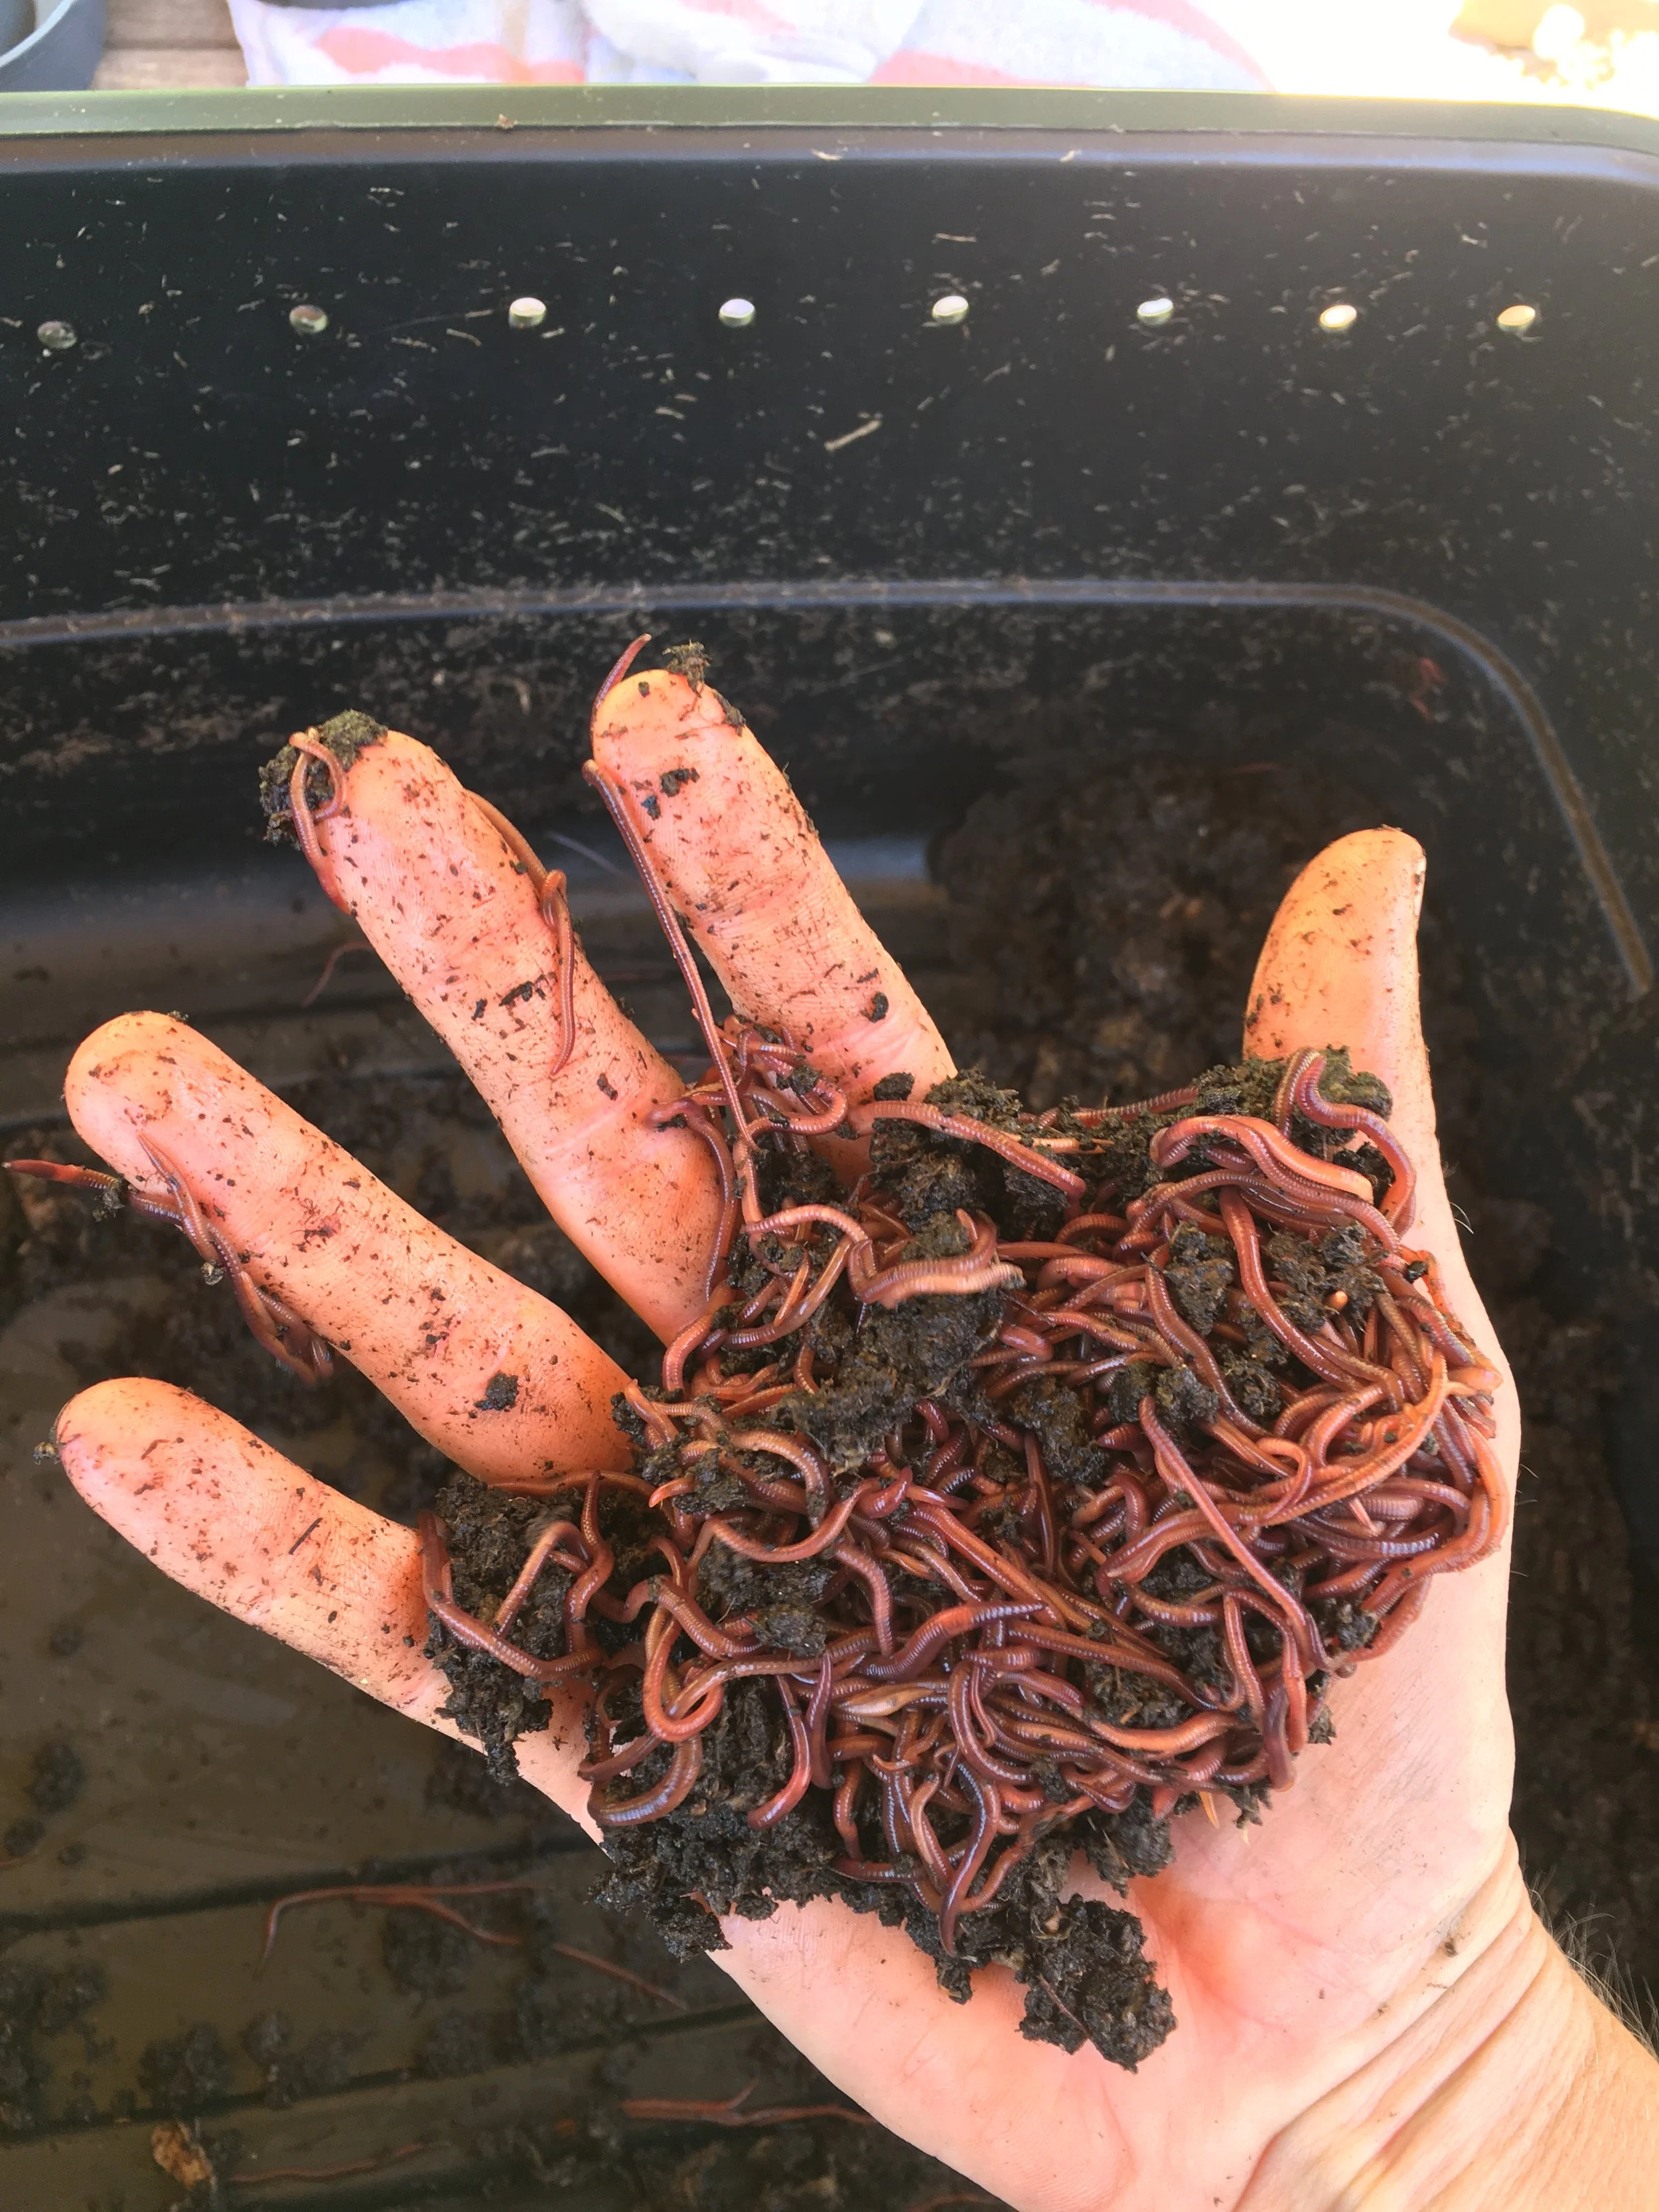
When you’ve finished harvesting a batch of black gold, you should be left with a few handfuls of wriggling worms and maybe a small amount of castings. Now it’s time to replenish the bin with fresh bedding and food!
To do this, simply repeat the steps you followed when you first introduced worms to your worm bin. Add at least 6” of moistened bedding (such as newspaper, wood shavings, or coconut coir) to the bin before re-introducing the worms. Make sure to also give them a few handfuls of fresh food scraps!
What to do with vermicompost, or “black gold”
Chances are, you’re no stranger to using compost in your garden. Whether it’s compost that you’ve made yourself or bought from a garden supply store, it’s sure to boost the health of your soil. When it comes to vermicompost, the principles are the same, with one key difference: a little goes a long way.
That is, vermicompost is known as black gold for a reason: it’s highly dense in macronutrients such as N, P, K, Ca, and Mg, as well as plenty of micronutrients, microorganisms, and beneficial insects.
To make best use of your worm castings, simply sprinkle them around your favorite plants in the garden and around the house. A top dressing is great and doesn’t need to be worked into the soil manually, and will result in a slow, steady release of nutrients to your plants. Unlike with chemical fertilizer, you don’t run the risk of burning your plants.
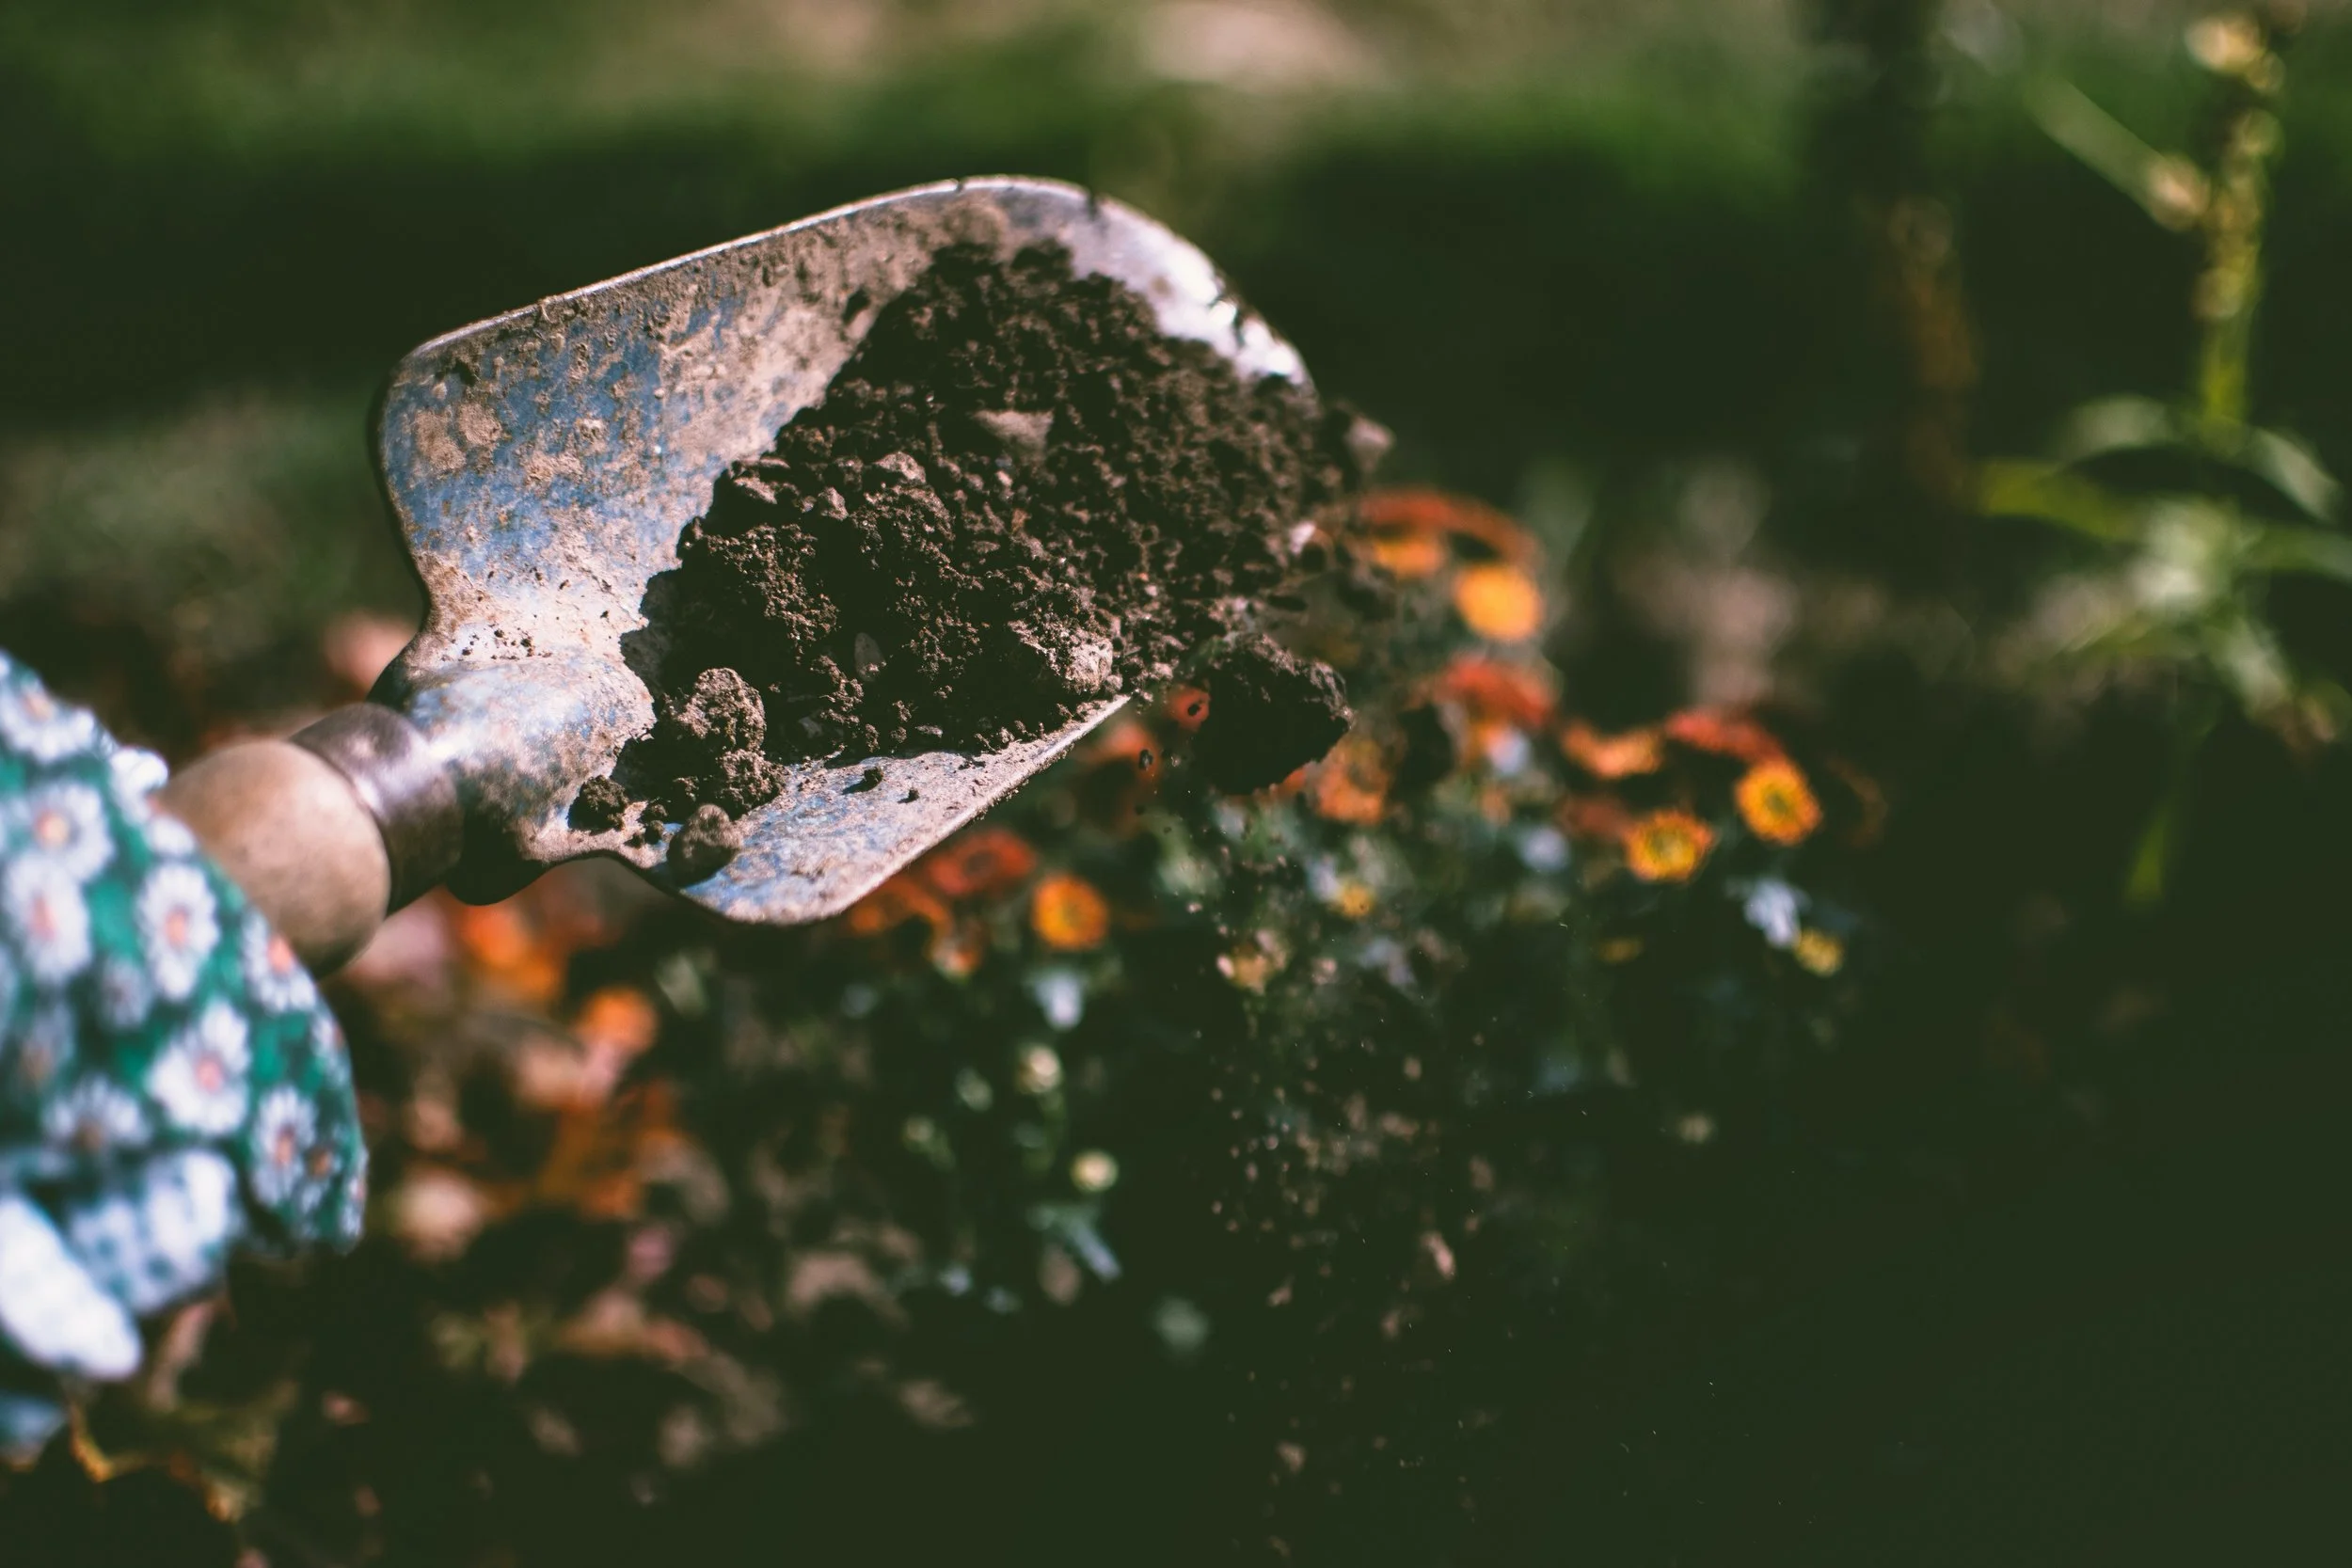
Photo by Lisa Fotios
How to make worm casting “tea”
To go beyond simply top-dressing your plants with vermicompost, you can also brew a compost tea, or in this case, a worm casting tea. Worm casting tea, or simply worm tea, is made by steeping worm castings in water.
And no, this tea isn’t for you to drink! Instead, you can dilute worm tea with water and pour on your garden beds or into your houseplants as a great fertilizer that won’t burn your plants.
To create a batch of worm tea, steep a few handfuls of worm castings in a 5 gallon bucket of water. You can use an old stocking or a compost filter bag to keep the castings separate, though this step is optional.
For even better results, add a couple tablespoons of molasses to boost microbial growth, and drop in an airstone such as one used in fish tanks to provide aeration. Let brew for about 24 hours before adding to the garden.
You can rebrew using the same castings a second time for a less strong batch. Alternatively, simply spread the used castings around your garden or add it to your compost pile!
Have you used worm castings in your garden before? What benefits have you noticed? Tell us more about your experience below!