How To Start Making Kombucha (You’ll Never Need a Recipe Again)
Do you enjoy kombucha? Having a sustainable kitchen means trying to make some things yourself, so why not try making kombucha—a naturally fizzy, probiotic drink?
What kombucha companies won’t tell you is that it’s extremely easy, efficient, and cost-effective to start making kombucha yourself. If that’s not enough, you’ll be thrilled to learn that you don’t need to follow an exact recipe every time (as food bloggers would have you believe). I am a firm believer in presenting the basic steps and then letting you explore on your own.
Once you know the basics, you can keep making kombucha on a regular basis. As your confidence grows, you can experiment to find the perfect flavor, intensity, bubbliness, and more! Ready to become a kombucha pro? Read on!
Supplies you’ll need
Glass jar (at least ½-gallon or 1-gallon, wide-mouth)
Tea towel or cheesecloth
Rubber band
Funnel
Glass bottles
Believe it or not, that’s all the supplies you need to get started! Of course there will also be a few basic ingredients (tea and sugar) and optional supplies, which we’ll get into later.
Note on the glass bottles: when you brew a batch of kombucha you’ll need to bottle it and let it go through a second fermentation stage. Make sure to use air-tight bottles such as ones with a swing cap/flip top.
What is a scoby?
If you have ever heard someone talking about making kombucha, chances are you’ve heard the term “scoby” before. SCOBY stands for “symbiotic culture of bacteria and yeast.” It’s the culture that’s used to make kombucha!
Its appearance can vary, but a scoby is usually round, white, and rubbery, and gives off a mild vinegary smell. The bacteria and yeast that live in the culture allow for the fermentation of the sugars in the tea, releasing carbon dioxide, vinegar, and a small amount of alcohol as byproducts.
Depending on the amount of time the batch is left to ferment, the result is fizzy and sweet yet tangy. The longer the fermentation, the more “vinegar-y” the taste.

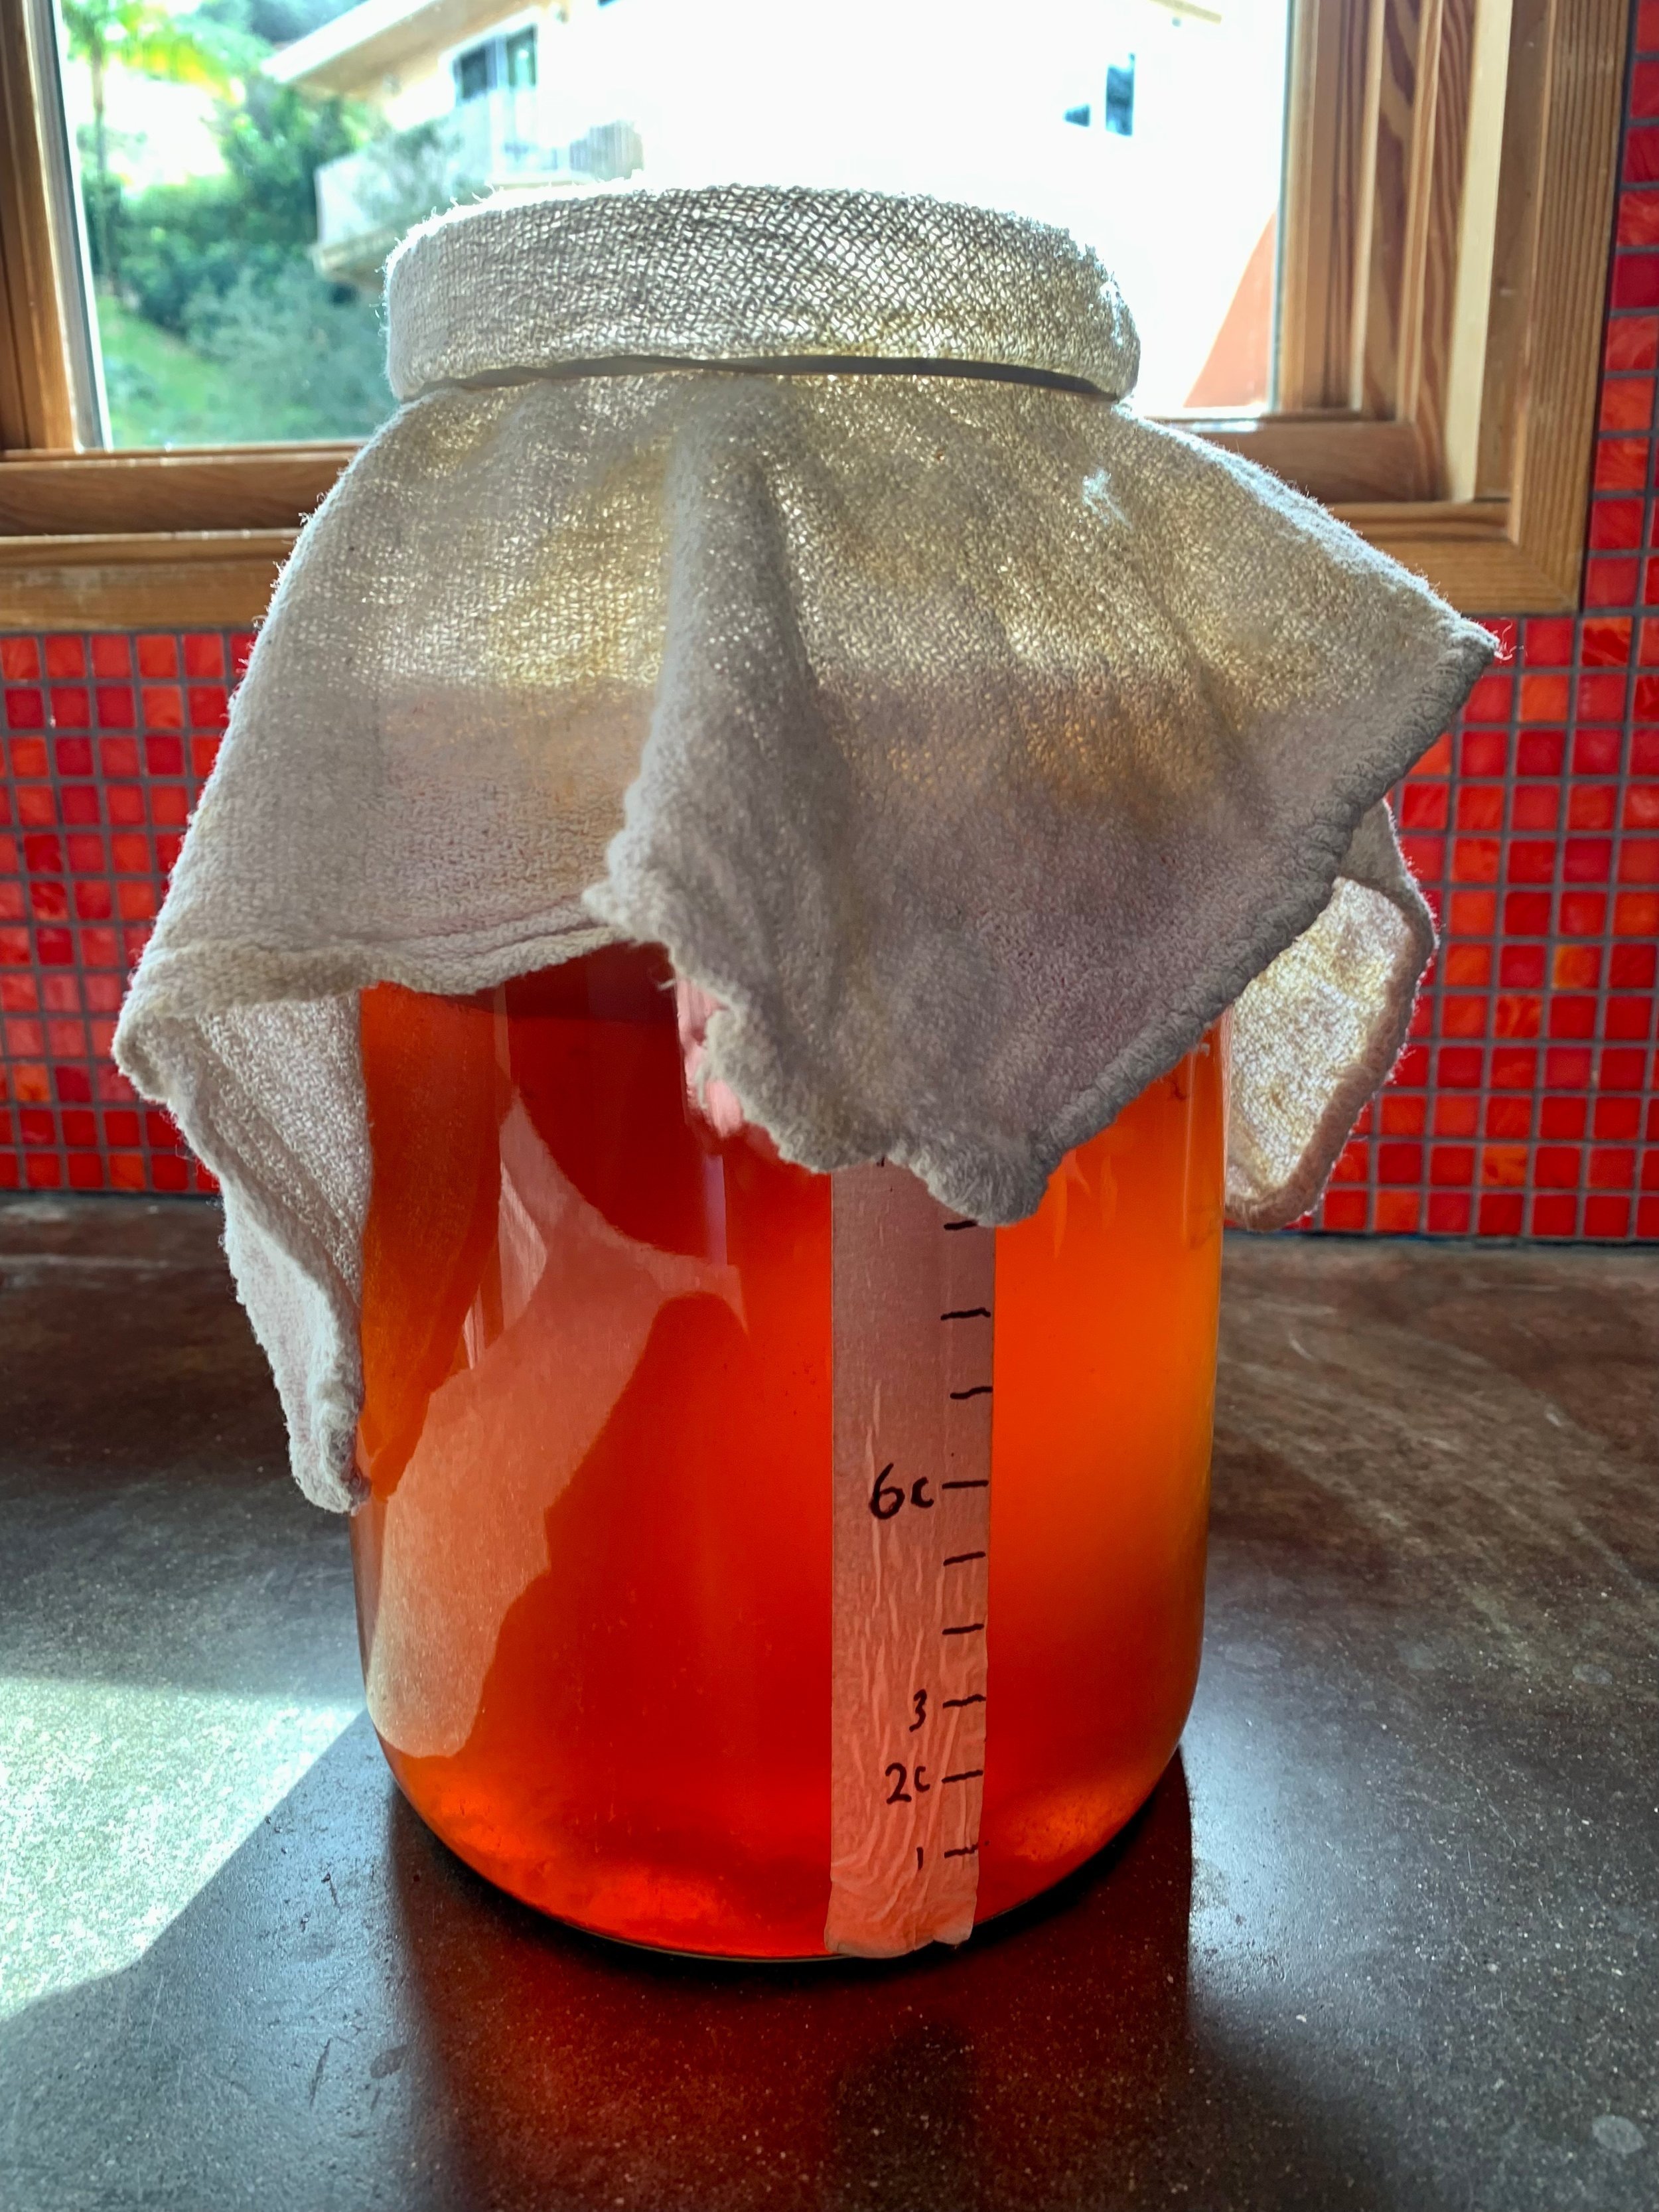
Multiple layers of scoby float at the top of this kombucha.
How to get your first scoby
Now you know what a scoby is, but you still need to get one before you can start brewing kombucha at home.
Getting your first scoby might seem like an intimidating process, but it’s actually a lot easier than you might think. There are a handful of methods to getting or growing a scoby, with some methods being easier, faster, or more effective.
Get one from a friend
You’ll quickly learn that scobies grow in layers, and you’ll need to remove excess layers from time to time (you can compost them!). If you know someone who is already making their own kombucha, they’ll likely be very happy to give you one of their excess layers, and a cup or two of starting kombucha.
Grow your own scoby from store-bought or craft kombucha
This is actually my favorite method, because it demonstrates that even big-brand kombucha has tons of beneficial bacteria floating around in it (hence it being probiotic).
Just open a bottle of fresh kombucha, drink some, then leave about 2 cups in your intended kombucha jar (wide-mouth so you can get the scoby in and out). Cover the jar with a tea towel or cheesecloth, secure with a rubber band, and wait…
It usually takes at least one to two weeks for a sufficiently-sized scoby to form, depending on temperature and pre-existing levels of the culture.
For this experiment it’s best to start with a neutral flavor of kombucha. Store-bought is more than enough but if you’re wanting to populate your kombucha with a more local culture, I suggest finding a nearby kombucha brewery!
Buy one (fresh or dehydrated)
A quick google search will show you a handful of companies that sell scobies, either fresh or dehydrated. I would highly suggest getting a fresh scoby if and when possible; not only will it be a faster process for you, but there’s a much higher chance of success.
I personally have limited success with dehydrated scobies, but that’s not to say that it can’t be a great option for you. Follow the product’s instructions for proper rehydration.
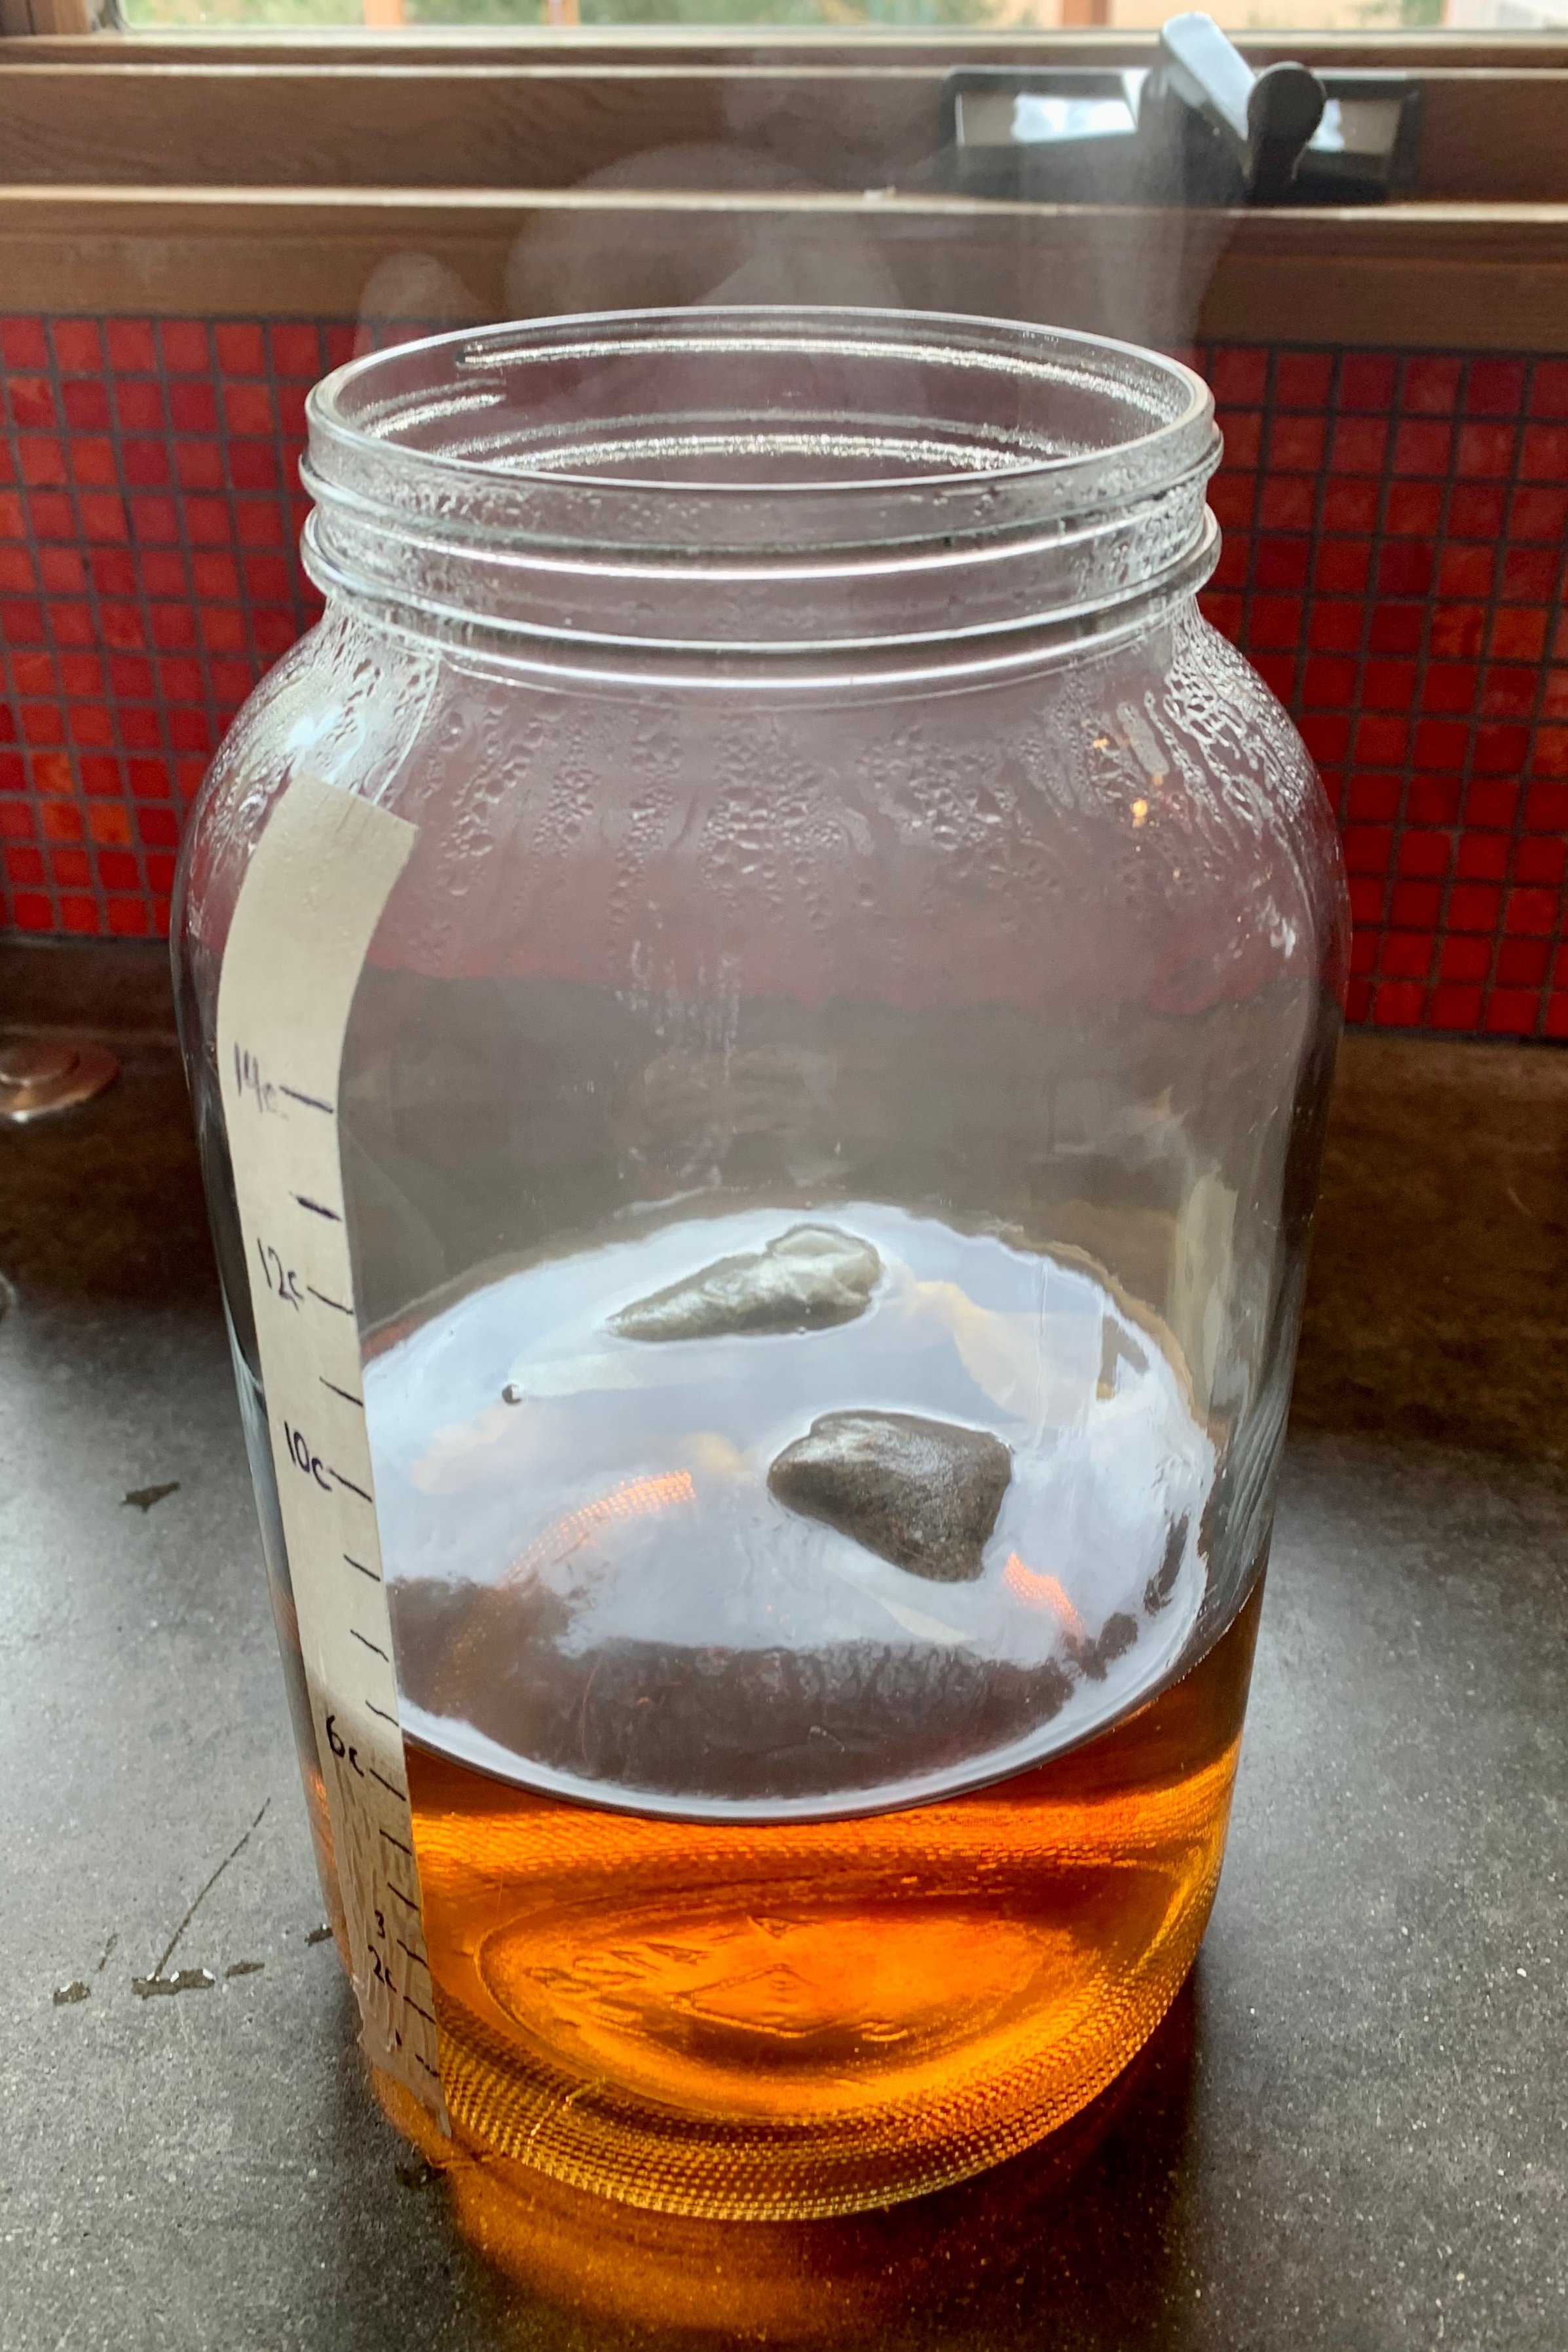
What should my kombucha scoby look like?
A scoby is usually white-ish in color, thick, and rubbery. It’s okay for the scoby to have little bits of brown on it, but keep an eye out for any growth of mold (white, green, or blue). Mold should not be able to grow if the kombucha’s acidity is high enough, so if you spot any, it might be time to start over.
The base kombucha recipe you’ll use every time
Here is the base kombucha recipe that will get you started off on the right foot!

Kombucha base recipe chart
This recipe is for 1 gallon (or 4 liters) of kombucha but can be scaled up or down as needed.
Note: traditionally, the tea used for kombucha brewing is a mix of green and black tea, but you can choose to do all green or all black or even mix in other teas. Depending on your preferences, you can use more or less tea to change the flavor.
Brewing and fermenting your first batch of kombucha
Boil about half of the water and steep the tea according to your preference (about 10-15 minutes is a good start).
Remove the tea bags or strain out the tea leaves.
Add sugar to the still hot tea and stir until it dissolves.
Add the remaining water. The colder the better, and you can even add ice cubes to quickly bring the tea down to room temperature.
Once the tea is at room temperature, add the starter liquid and gently place the scoby on top. Ideally it should float on the surface, but it’s okay if it sinks.
Cover with a cheesecloth or tea towel and secure with a rubber band. Let sit in a dark place (such as a cupboard) for at least one to two weeks. The length of time will depend on the ambient temperature (hotter = less time, colder = more time). You can start checking the flavor at the end of the first week. It should be a little sour and not too sweet, but go with what tastes right to you.

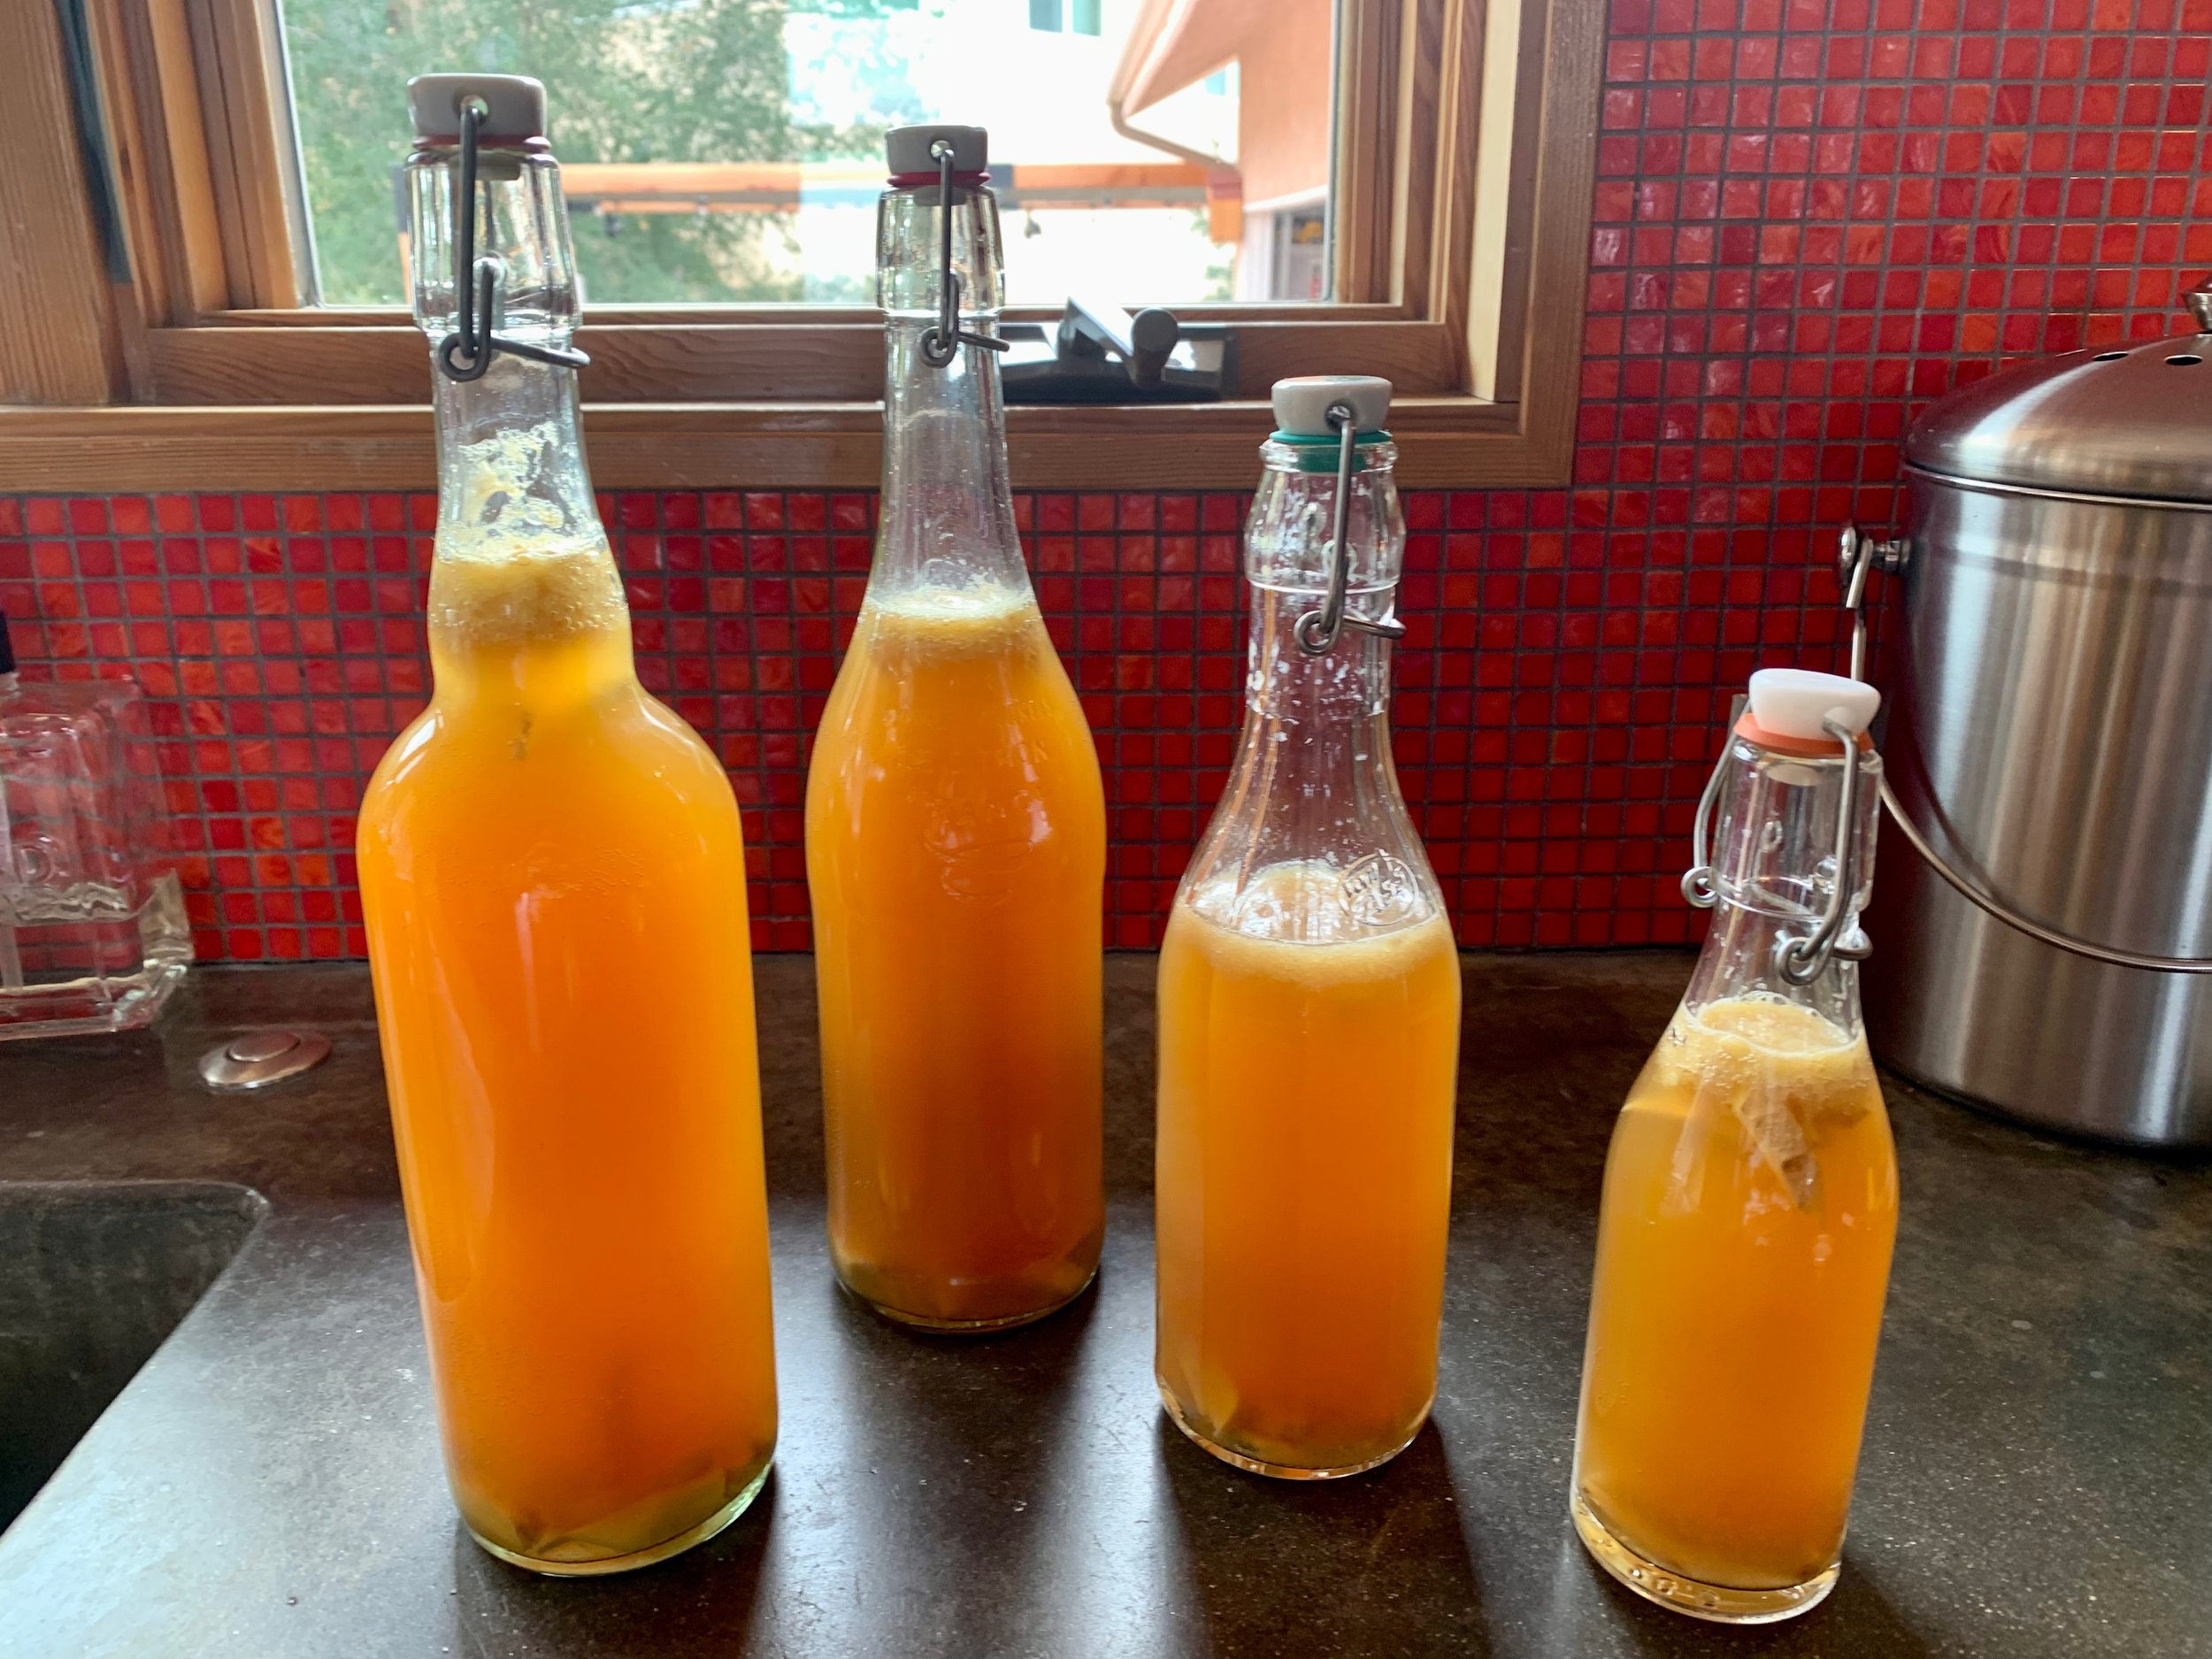
Bottling your first batch of kombucha
Take out the scoby and two cups of starting liquid for your next batch.
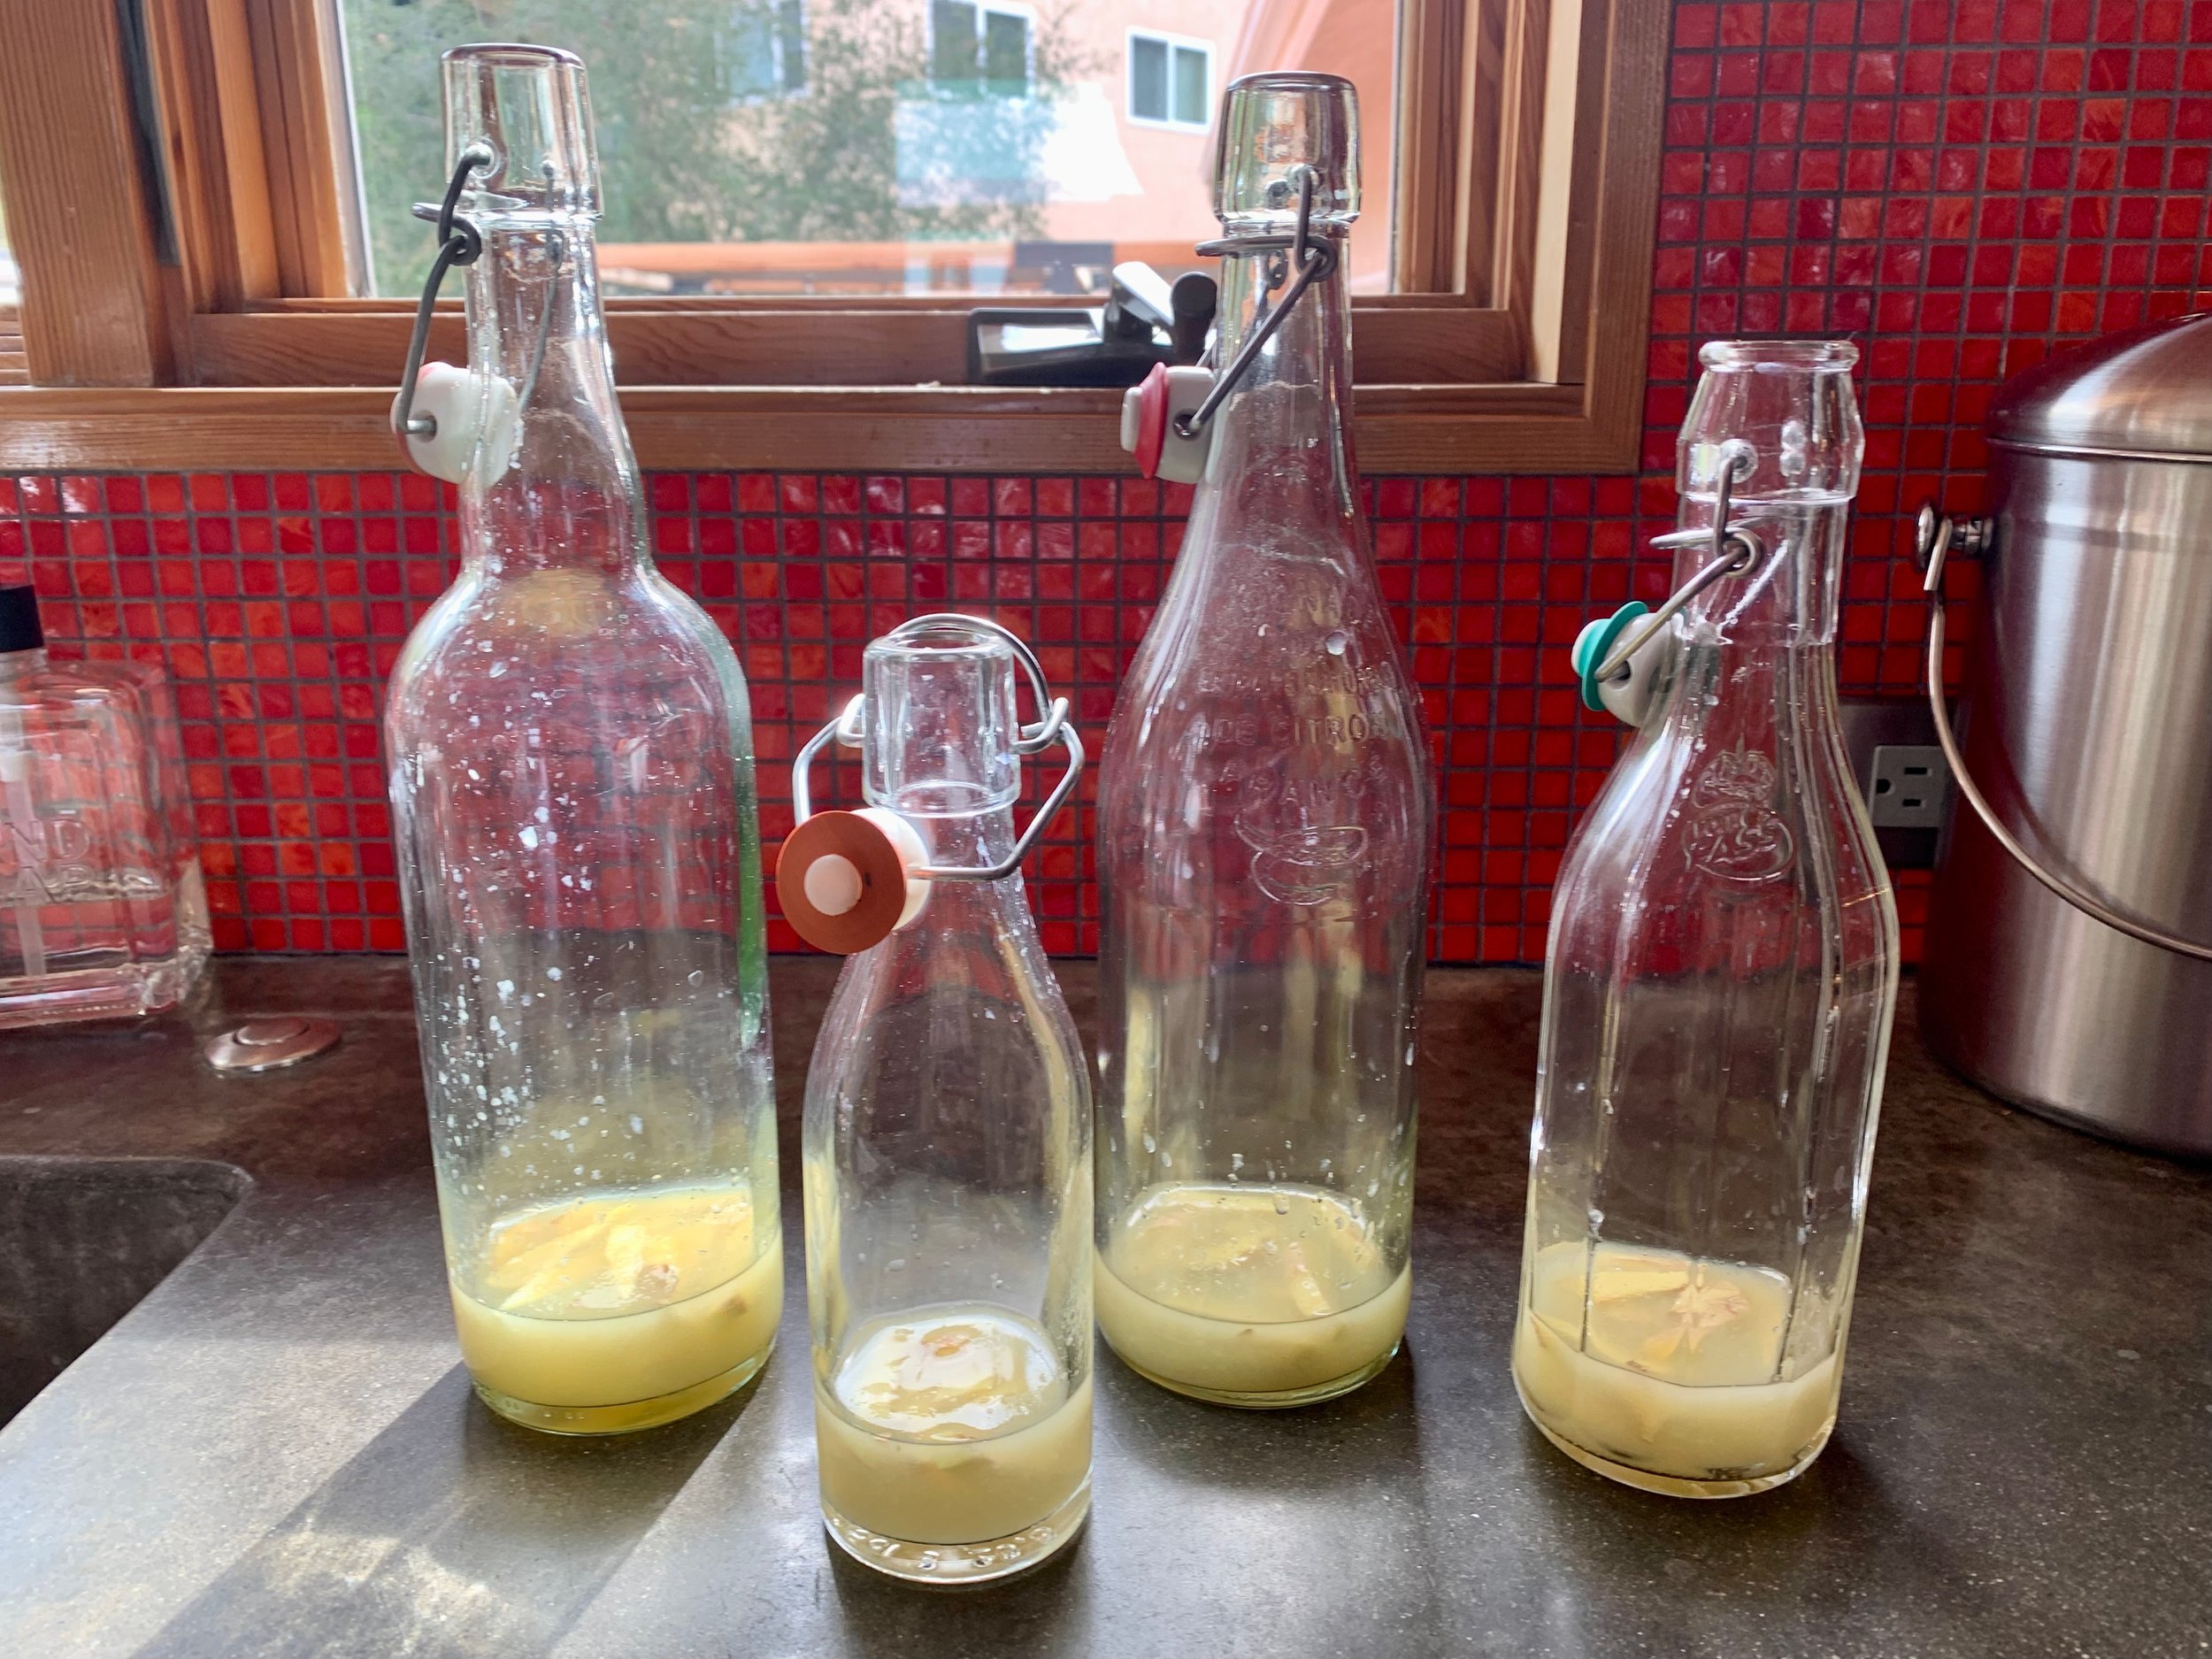
Divide the remaining liquid into glass bottles using a funnel.
If you merely want to boost carbonation, add a small amount of sugar (about 1 tsp per 16 oz).
To add flavors, you can add fresh fruit, juice, herbs, or honey. Don’t add sugar when adding fruit, or you might end up with a kombucha explosion!
Seal the bottle as best as possible and leave in a dark place to ferment for about two days, or up to a week depending on temperature and preference.
Variations and experimentations
The possibilities with kombucha are endless! Now that you know the basics, you can experiment with the fermentation and bottling processes to obtain different flavors and carbonation levels. A few things you can try include:
Using a mix of different teas
Experimenting with length of time in fermentation (for more or less acidity, or more or less carbonation)
Trying different flavors by using different ingredients in the second fermentation
My personal favorite ingredients are fresh lemon and ginger, but other ideas include: pineapple juice, berries, honey, and lavender. Go crazy! Go wild! And above all, have fun!
What’s your favorite kombucha flavor? Have you ever made it before? Share your successes (or failures) below!